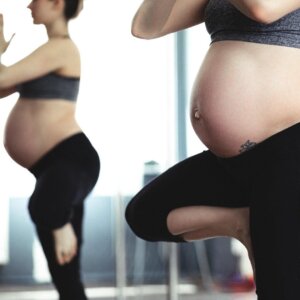
Hip flexor stretches are more important than you may think! The hip flexor muscles can cause a multitude of problems, such as hip and back pain that can be difficult to treat based on your specific mobility limitations. It can also cause abdominal, testicular, and/or pelvic floor pain.
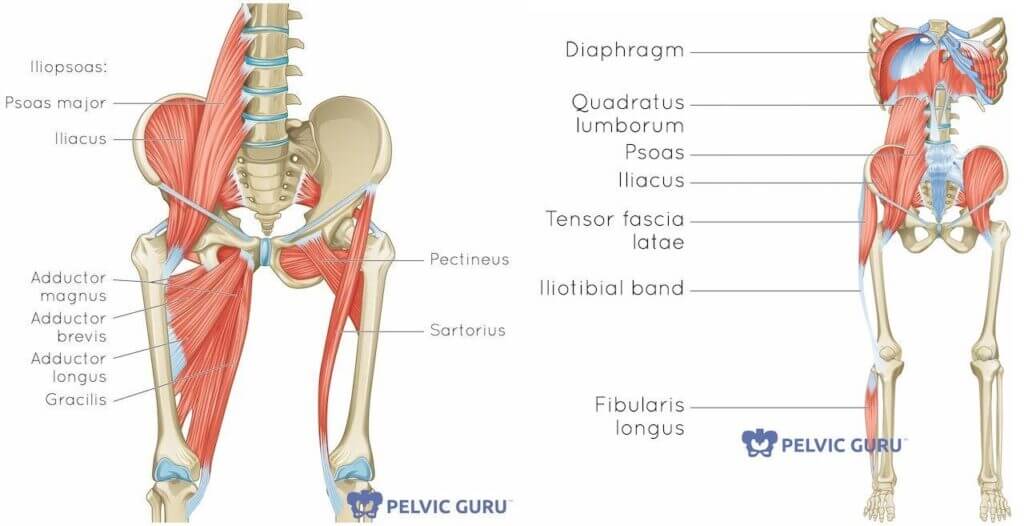
Your hip flexor is actually two muscles, so this stretch will regularly get you two for the price of one! The two hip flexor muscles are shown below, the iliacus and psoas major, and they are located on both sides of your body. One of the muscles attaches to your lumbar spine (the lower part), and the other to your ilium (the outer wings of your pubic bone) and both come around to attach to the front of your femur.
BENEFITS OF HIP FLEXOR STRETCH:
- Decrease back, abdomen, and hip pain
- Aids with digestion
- Helps to improve upright posture
- Decompresses your spine
- Improves gluteal muscle activation for improved butt strength
VARIATION 1: SUPINE HIP FLEXOR STRETCH
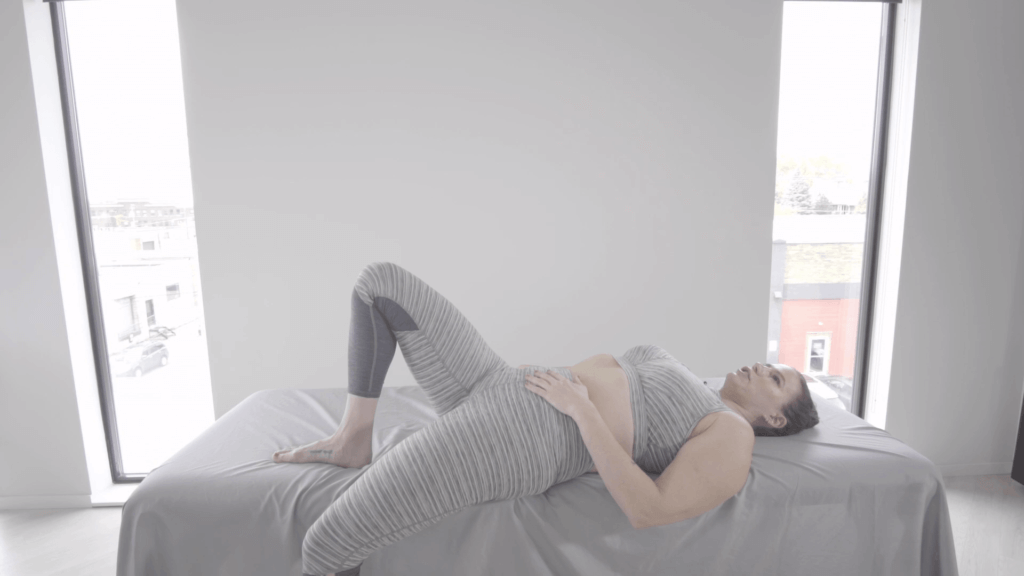
For this variation you will need a bed, couch, or similar raised item with enough room for you to lie down comfortably. I’m using a massage table in this example.
Lie on your back with the side of your hips that you would like to stretch close to the outside edge of what you are lying on. Allow that leg to dangle there, and move it slightly out to the side if need be. Rest your head, let your leg relax, and let gravity be your best friend and help you with that stretch!
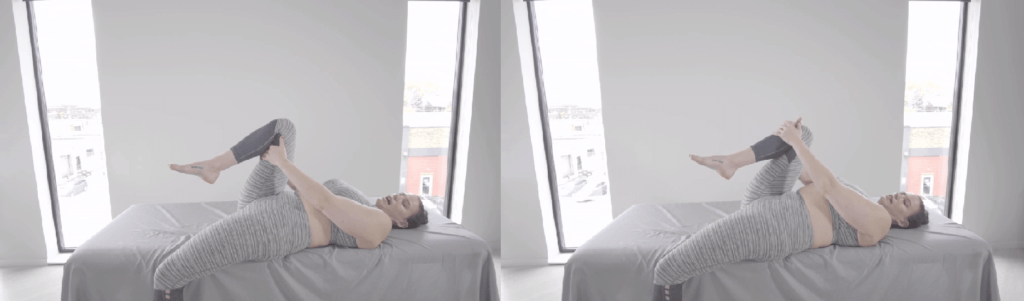
These positions allow your pelvis to tilt toward the surface you are lying upon (bed, couch, treatment table) and lock down that pelvic position for a deep and maintained stretch. These options are a great way to take the above position to the next level.
VARIATION 2: HALF KNEELING HIP FLEXOR STRETCH
STEP 1
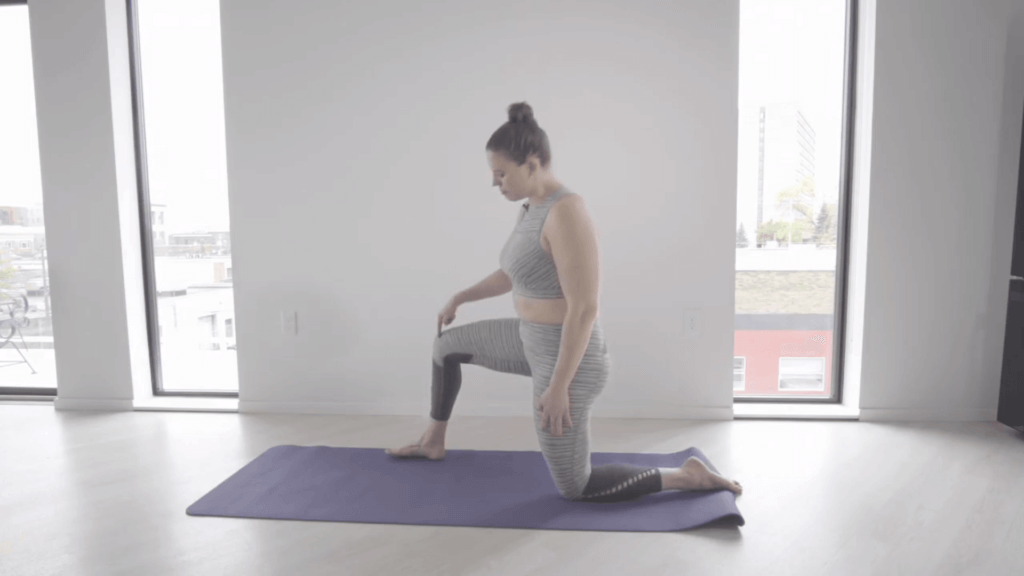
Begin by standing up on your knee. The hip you’d like to stretch should be straight through your knee, hip, and shoulder, your other knee should be bent, the sole of your foot flat on the floor, and your ankle should be a little bit in front of your knee. From here tilt your pelvis back and forth and find a nice neutral pelvic position.
Maintain this pelvic position during Step 2 by engaging your core.
STEP 2
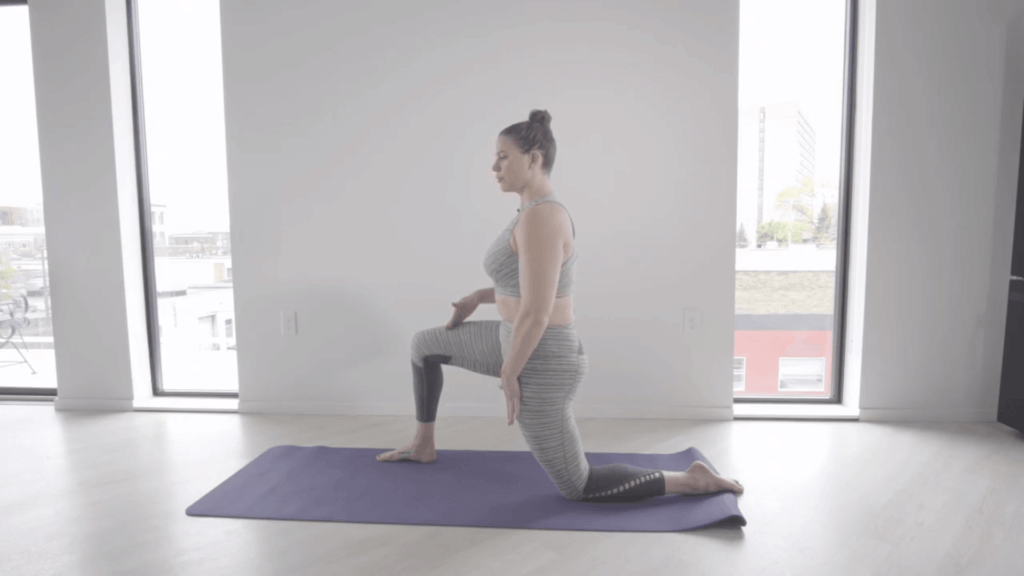
From here you can gently lean forward, holding that pelvic position, until you feel a gentle pulling stretch in that hip. From here there are a few other options you have to try and deepen that stretch further.
OPTIONS FOR DEEPER HALF KNEELING STRETCH
- Tighten your butt cheek on that side
- Lean your upper torso away from that hip
- Turn your shoulders and twist away from that side
This position may cause some issues in the knee or ankle region for some people. Try folding your yoga mat, a blanket, or a towel and placing it beneath your problem area to add support or reduce the amount of flexion demanded from those areas.
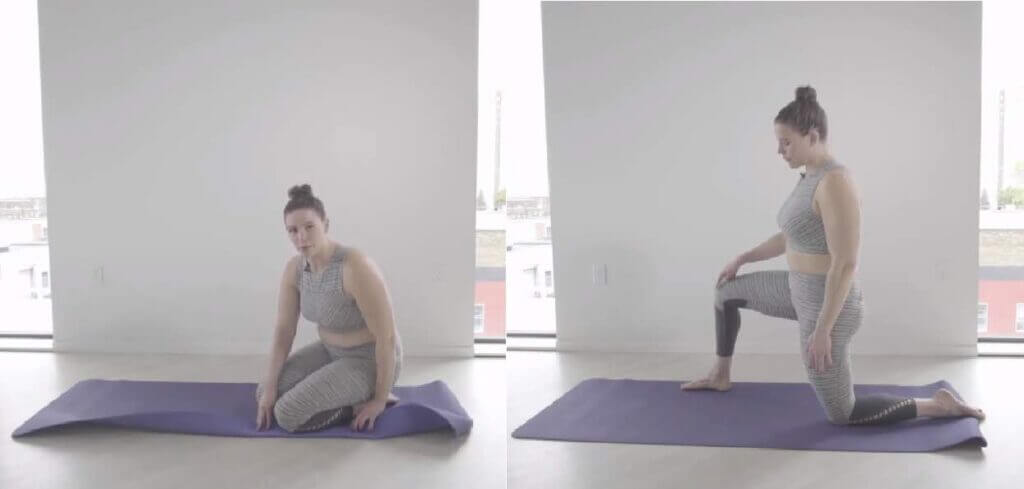
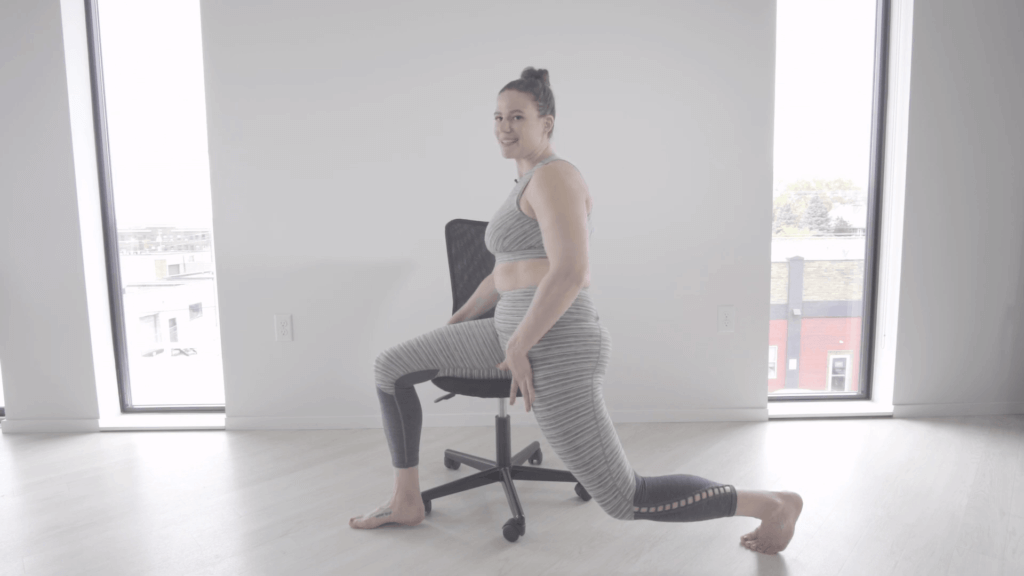
VARIATION 3: SEATED HIP FLEXOR STRETCH
VARIATION 4: STANDING HIP FLEXOR STRETCH
STEP 1
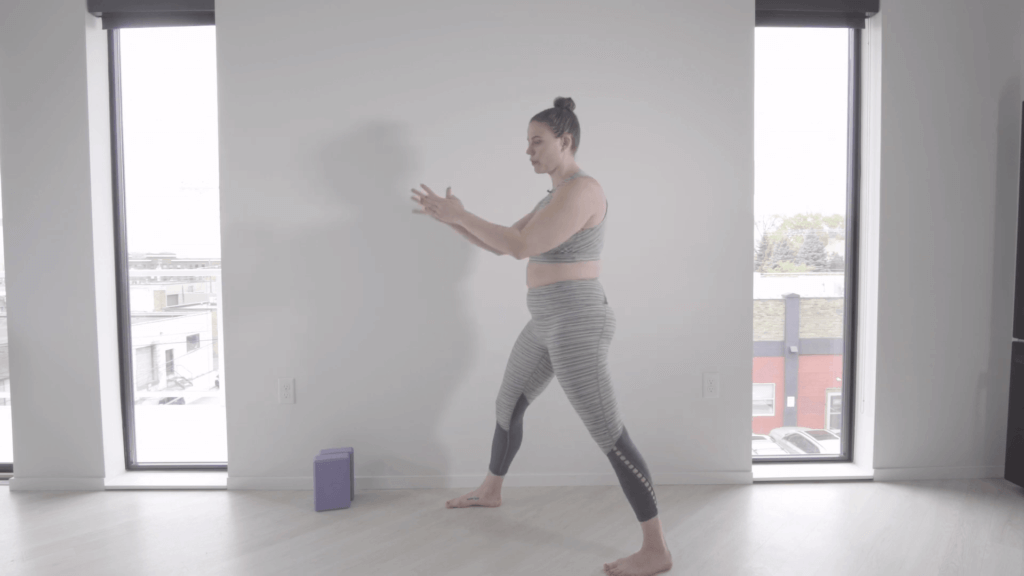
STEP 2
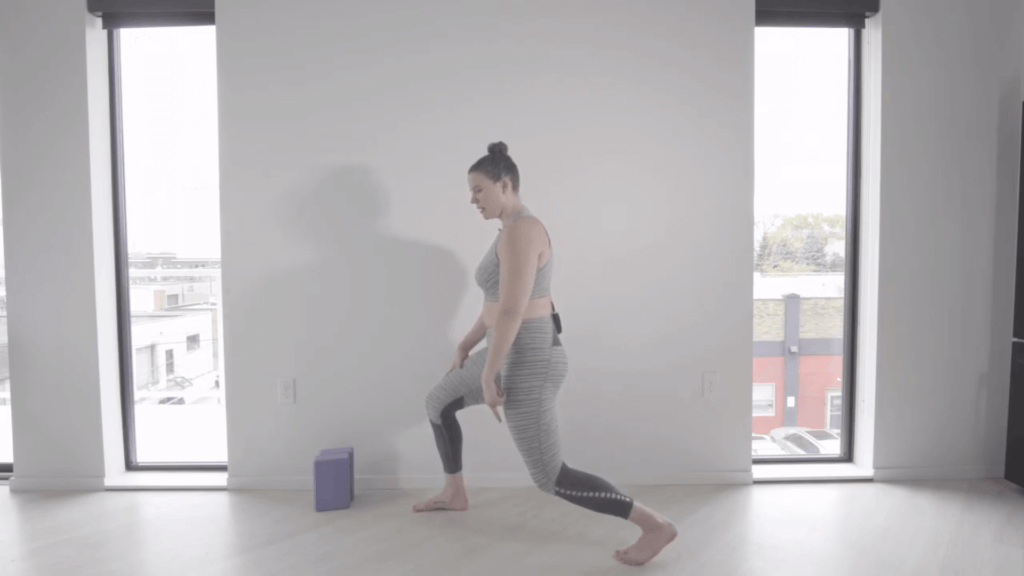
STEP 3

From this position you should be able to straighten the knee of your back foot, allowing you to access a stretch through the front of that leg by bending and straightening through that knee. Make sure to still leave that heel off of the ground, to start feeling that stretch through the front part of your leg.
NOTE! You can also repeat the options from the half kneeling hip flexor stretch, if you are looking for a way to get a deeper stretch from the standing version as well.
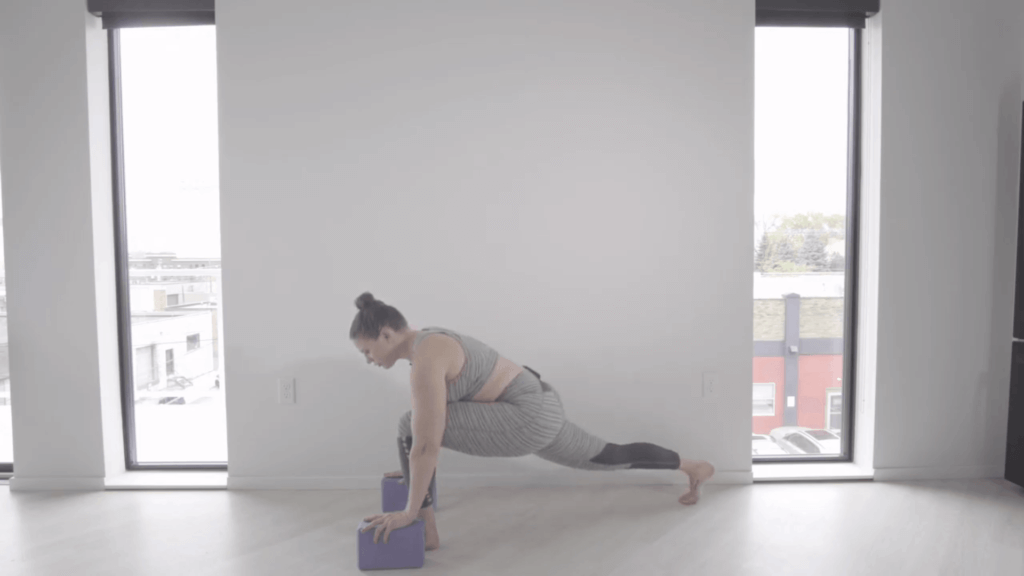
VARIATION 5: HIP FLEXOR STRETCH with YOGA BLOCKS
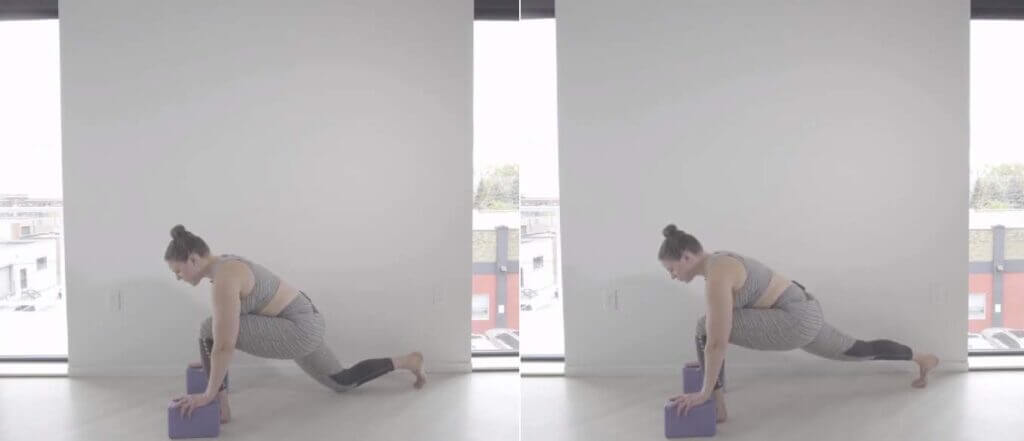
Stand with your feet shoulder width apart, move the foot of the hip you would like to stretch backwards so that you are in a lunge position. From here you can put your yoga blocks or supports on either side. The block should be right on the outside edge of your front foot. Use these blocks to raise the height of the floor to your hands, allowing you to maintain a comfortable back position in this stretch.
You may need to raise up and sink into the position a couple of times to find a comfortable stretch, or even move your back foot forwards or backwards. Here you will straighten and bend your knee similar to the standing hip flexor stretch.
ASK YOURSELF! As you work through these stretch options, check in and ask yourself: Is it a stretch, or is it a pain?
A stretch-like pulling sensation is normal, it may feel uncomfortable, but investigate that feeling .A stretching sensation should gradually reduce with time and allow you to continue to deepen throughout the position.
Pain, alternately, does not change, or may even increase in intensity. If you feel pain, gently ease out of that stretch and try again utilizing a different variation. There are lots of ones to choose from!
If you would like more information about specific routines or have questions, please visit my information page to reach out! If you think that might have pelvic floor concerns please find a physical therapist near you who will hear your concerns, and can answer your questions and help bring you some comfort. In order to enjoy the journey, you must first begin it! We’re all in this together.
PELVIC YOGA POSES:
PELVIC FLOOR STRETCHES:
RECOMMENDED PRODUCTS
I LOVE the yoga store listed below for their quality, and variety of options, designed to meet all of your needs. Manduka is a great one-stop-shop for high-quality yoga products. They also sell clothing and other accessories to make those pelvic stretches possible for everyone.
—
✨ Manduka